Using KeePassXC with SSH-Agent on OpenBSD
365 words, 2 minutes
I’m using KeePassXC to manage my secrets. But when I log into my OpenBSD laptop, I’m still asked to enter my SSH passphrase to fill-in ssh-agent(1). Somehow, it’s great ; maybe other system don’t even propose that feature out of the box. But what if KeePassXC could know about my passphrase(s) and interact with ssh-agent(1). Well, it can.
Run ssh-agent(1)
On OpenBSD, ssh-agent(1) is natively run when you log in via xenodm. Then ssh-add(1) is called if you have any SSH keys.
Half the work is already done. Simply disable ssh-add(1) ; when required, your keys shall be managed by KeePassXC.
--- /etc/X11/xenodm/Xsession.orig	Mon Oct  5 02:47:52 2020
+++ /etc/X11/xenodm/Xsession	Sun Jan  9 14:28:27 2022
@@ -33,7 +33,7 @@
 	if [ -x /usr/bin/ssh-agent ] && [ -f $id1 -o -f $id2 -o -f $id3 -o -f $id4 -o -f $id5 ];
 	then
 		eval `ssh-agent -s`
-		ssh-add < /dev/null
+		#ssh-add < /dev/null
 	fi
 fi
If you were not using OpenBSD and/or xenodm, you’d have to run
eval `ssh-agent -s` somewhere during your X session.
Configure KeePassXC
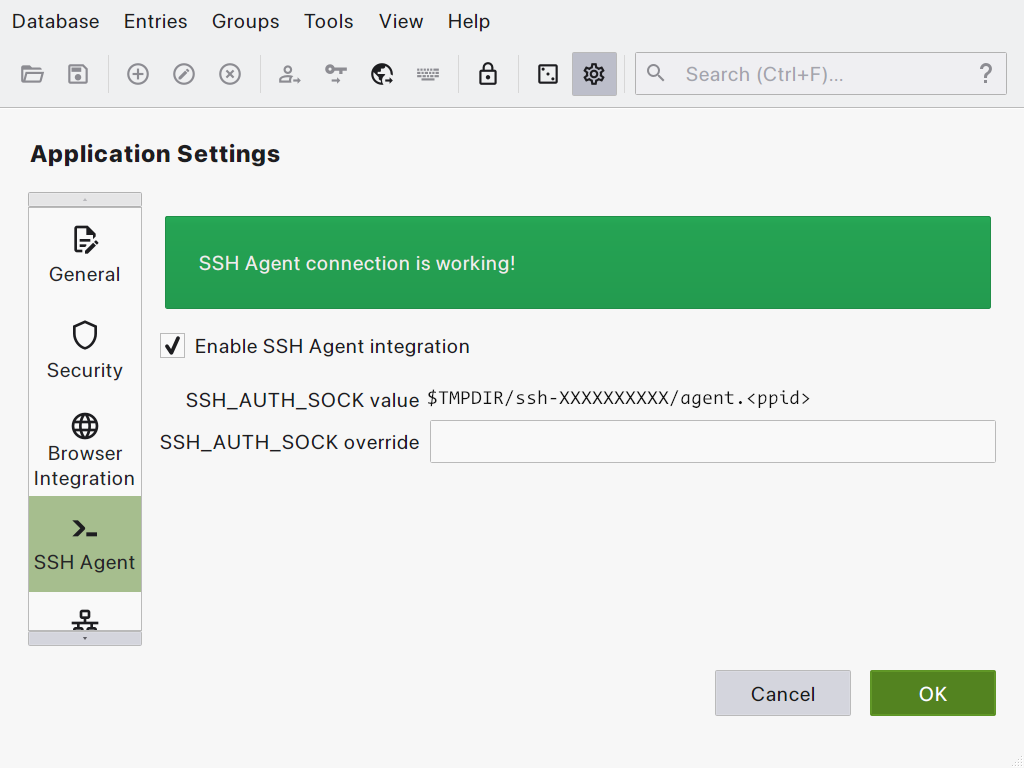
Start KeePassXC and and select the Tools / Settings menu.
Click the “SSH Agent” icon and check the “Enable SSH Agent integration” option. If ssh-agent(1) is started properly, you’ll get an ack message.
Register the SSH keys
Close the settings window and “Add a new entry” to KeePassXC.
Enter a descriptive “Title” ;
Enter your passphrase in the “Password” field ;
Scroll down to “SSH Agent” and click on the option ;
Configure the key management policy you’d like to apply ;
☑ Add key to agent when database is opened/unlocked ;
☑ Remove key from agent when database is closed/locked ;
☑ Require user confirmation when this key is used ;
▢ Remove key from agent after 600 seconds.
In the “Private Key” section, click the “Browse” button to select your SSH private key. Then click the “Add to agent” button. And select you SSH key file.
Click the “OK” button to save your settings.
Usage
From now on, simply unlock KeePassXC and connect to the remote host using SSH. You shall get a confirmation message if you’ve configured it. And you’ll be automagically logged in.

Done!